Assemble
This guide will show you how to assemble your Raspberry Pi Zero 2 W for the HackMaster Pi.
3D Case
- Download 3D modules: https://github.com/1PingSun/HackMaster-Pi/tree/main/3D-Modules.
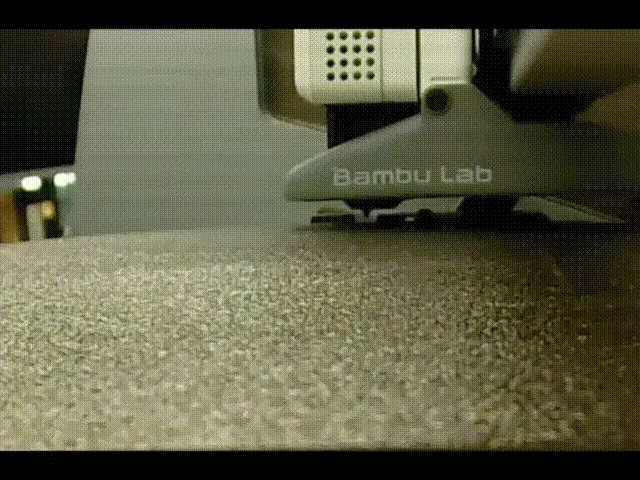
- Print the 3D modules with 3D printer.
- Assemble the components and the Raspberry Pi Zero 2 W into the 3D case modules.

Connect the Circuit
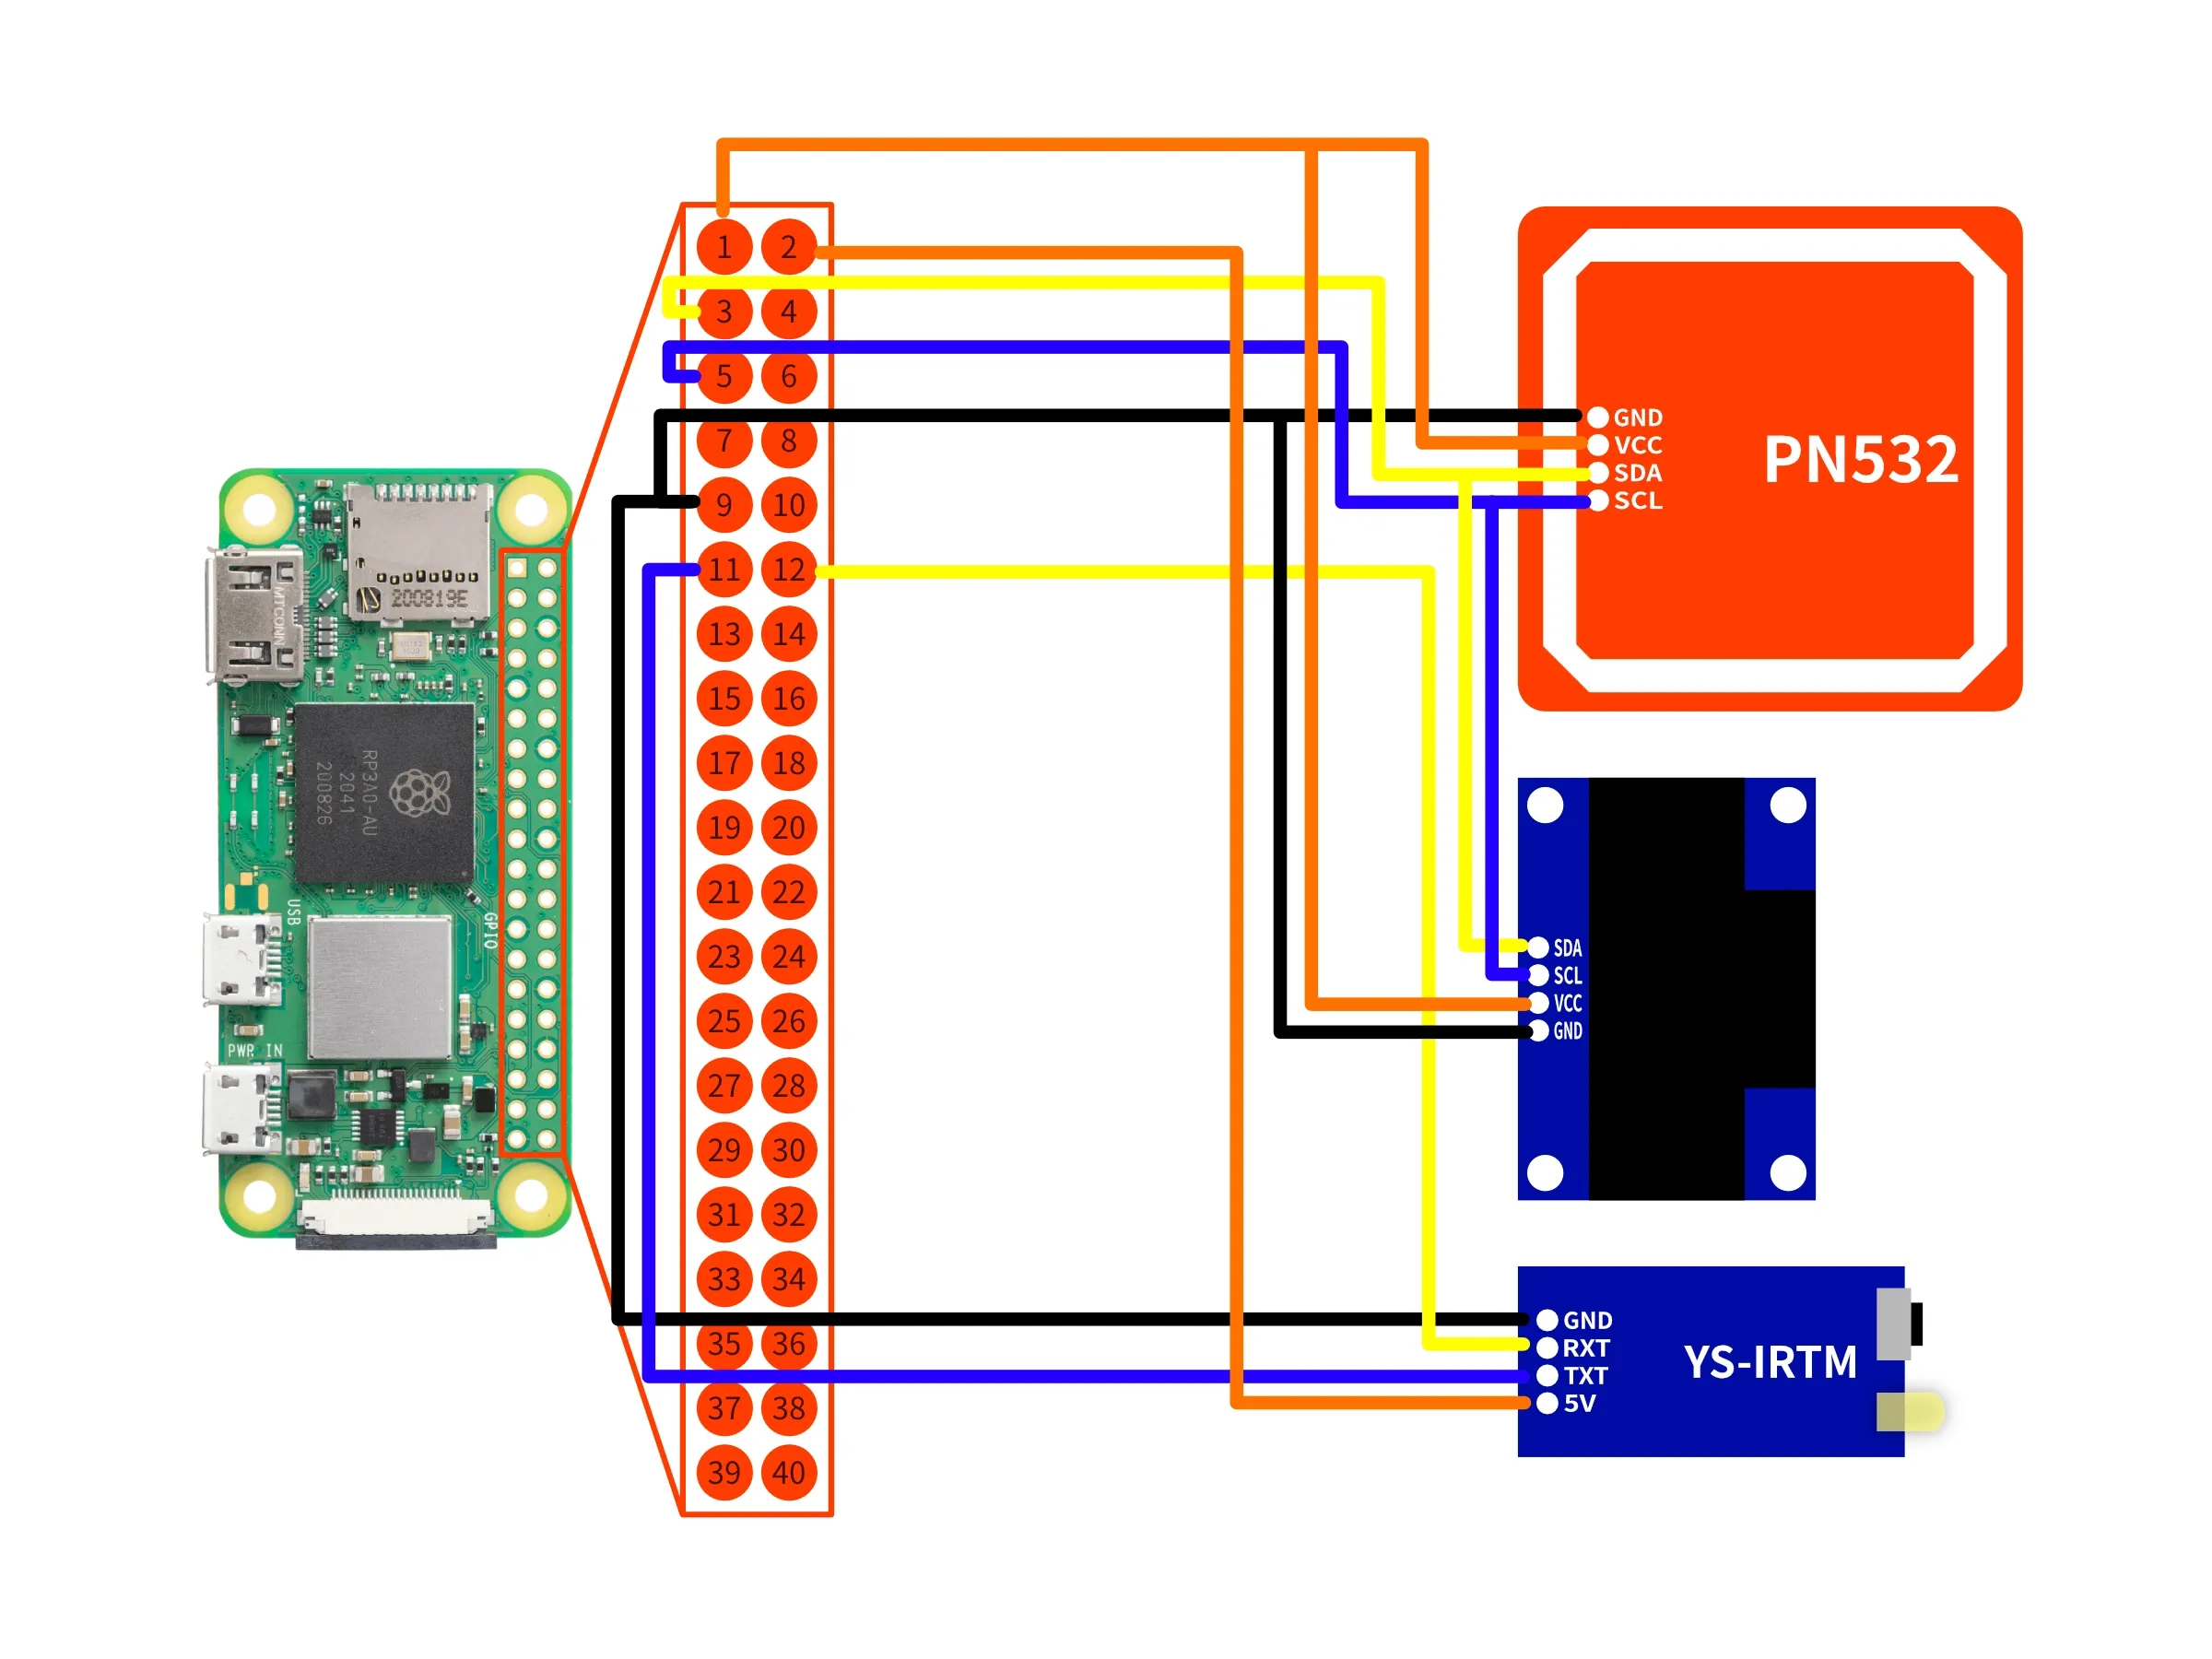
You can follow the circuit diagram to connect the components.
- PN532 NFC/RFID Module
- VCC → Raspberry Pi 3.3V (pin 1)
- GND → Raspberry Pi GND (pin 6)
- SDA → Raspberry Pi SDA (pin 3)
- SCL → Raspberry Pi SCL (pin 5)
- YS-IRTM IR Module
- VCC → Raspberry Pi 5V (pin 2)
- GND → Raspberry Pi GND (pin 6)
- RXT → Raspberry Pi GPIO 18 (pin 12)
- TXT → Raspberry Pi GPIO 17 (pin 11)
- OLED 0.96” Screen
- VCC → Raspberry Pi 3.3V (pin 1)
- GND → Raspberry Pi GND (pin 6)
- SDA → Raspberry Pi SDA (pin 3)
- SCL → Raspberry Pi SCL (pin 5)


